
Thunderbird
the CryptoParty handbook - Version: 2013-08-21 - Back to Index
Thunderbird
In upcoming sections, we will be using Mozilla’s Thunderbird e-mail program to show you how to configure your e-mail client for maximum security. Similar to Mozilla’s Firefox browser, Thunderbird has many security advantages over its counterparts like Apple Mail and Outlook.
Thunderbird is a so-called “mail user agent” (MUA). This is different from web-based e-mail services like Google’s Gmail. You must install the Thunderbird application on your computer. Thunderbird has a nice interface and features that enable you to manage multiple mailboxes, organize messages into folders, and search through mails easily.
Thunderbird can be configured to work with your existing e-mail account, whether that account is through your Internet Service Provider (such as Comcast) or through an web-based email provider (such as Gmail).
Using Thunderbird has many advantages over using web-based e-mail interfaces. These will be discussed in the following chapter. To summarize, though, Thunderbird enables much greater privacy and security than web-based e-mail services.
This section provides information on how to install Thunderbird on Windows, Mac OS X, and Ubuntu.
Installing Thunderbird involves two steps: first, download the software and then run the installation program.

Thunderbird Install
If you want to use Thunderbird in a different language or with a different operating system, click the Other Systems and Languages link on the right side of the page and select the version that you need.
Thunderbird Install
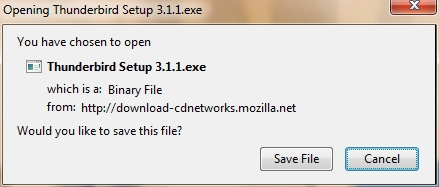
Click the Save button to save the Thunderbird Setup file to your computer.
Thunderbird Install
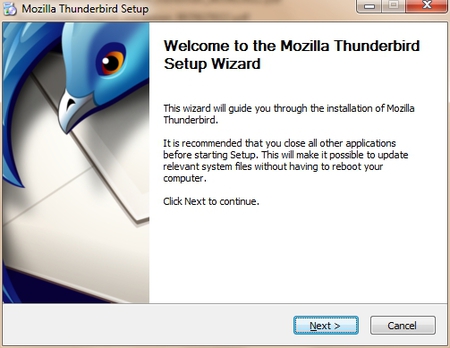
Click the Next button to start the installation. If you want to cancel it, click the Cancel button.
Thunderbird Install
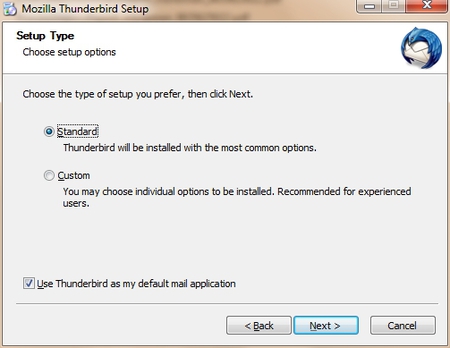
Click the Next button to continue the installation.
Thunderbird Install
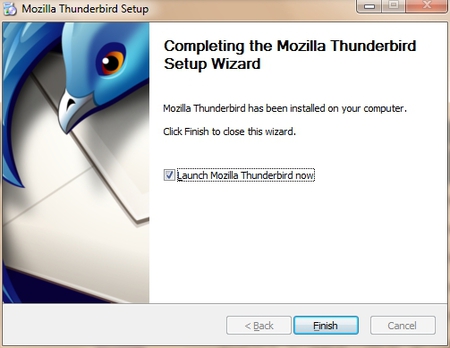
If the Launch Mozilla Thunderbird now checkbox is selected, Thunderbird starts after it has been installed.
There are two different procedures for installing Thunderbird on Ubuntu: one for version 10.04 or later, and one for earlier versions of Ubuntu. We describe both below.
Thunderbird will not run without the following libraries or packages installed on your computer:
Mozilla recommends that a Linux system also has the following libraries or packages installed:
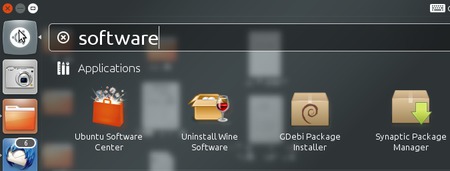
If you’re using Ubuntu 12.04 or newer, the easiest way to install Thunderbird is through the Ubuntu Software Center.
Thunderbird Install
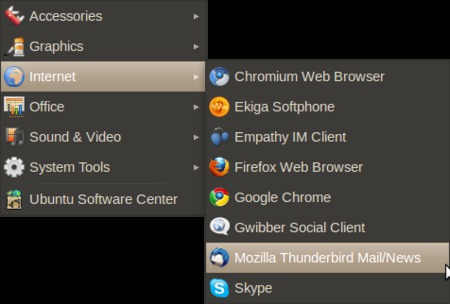
You can find the shortcut to start Thunderbird in the Internet option under the Applications menu:
Thunderbird Install
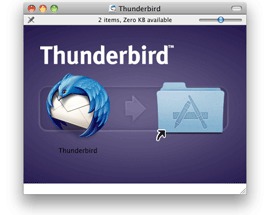
To install Thunderbird on your Mac, follow these steps:

Thunderbird Install
If the volume did not mount automatically, open the Download folder and double-click the disk image to mount it. A Finder window appears:
Thunderbird Install
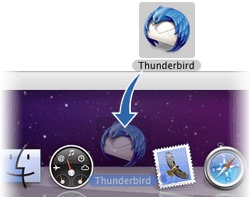
Thunderbird Install
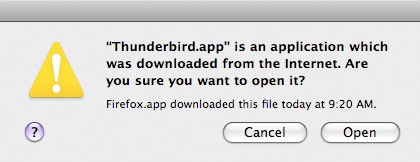
Note: When you run Thunderbird for the first time, newer versions of Mac OS X (10.5 or later) will warn you that the application Thunderbird.app was downloaded from the Internet.
If you downloaded Thunderbird from the Mozilla site, click the Open button.
Thunderbird Install
After you have installed Thunderbird for the first time you will be guided through the configuration of your mail account. These settings are defined by your e-mail provider (your Internet Service Provider or web-based e-mail service provider). The next chapter describes how to set up your account and configure it for maximum security.
There is a right (secure) way to configure your connection to your provider’s mail servers and a wrong (insecure) way. The most fundamental aspect of e-mail security is the type of connection that you make to your e-mail provider’s mail server.
Whenever possible, you should connect using the SSL (Secure Socket Layer) and TLS (Transport Layer Security) protocols. (STARTTLS, which is another option available when configuring an account, is a variation of SSL / TLS.) These protocols prevent your own system (beyond Thunderbird) and any points between your system and the mail server from intercepting and obtaining your password. SSL / TLS also prevent eavesdroppers from reading the content of your messages.
These protocols, however, only secure the connection between your computer and the mail server. They do not secure the information channel all the way to the message recipient. Once the mail servers forward the message for delivery, the message may be intercepted and read by points in between the mail server and the recipient.
This is where PGP (Pretty Good Privacy) comes in, which is described in the next chapter.
The first step in establishing e-mail security is a secure connection between your system and the mail servers. This chapter describes how to set up your e-mail account the right way.
When you configure an account, Thunderbird attempts to determine (from the email account and the account details that you provide) the connection parameters to your email provider. While Thunderbird knows the connection parameters for many email providers, it does not know them all. If the parameters are not known to Thunderbird, you will need to provide the following information to configure your account:
imap.example.com), protocol (POP or IMAP), port (by default, 110), and security protocolsmtp.example.com), port (by default, 25), and security protocolYou should have received this information from your hosting provider. Alternatively, you can usually find this information on the support pages on the website of your hosting provider. In our example we will be using the Gmail server configuration. You can use Thunderbird with your Gmail account. To do so, you must change a configuration setting in your account. If you are not using a Gmail account, skip the next section.
Log in to your Gmail account in your browser. Select Settings from options in the top right, then go to the tab Forwarding and POP/IMAP. Click Enable IMAP and then Save Changes.
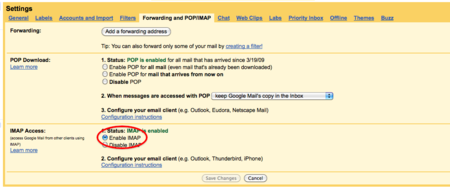
Gmail enable IMAP
When you start up Thunderbird for the first time, you will enter a step-by-step configuration procedure for setting up your first account. (You can invoke the account setup interface any time by selecting File | New | Mail Account). On the first screen, you will be asked for your name, your email-address and your password. The value you enter for your name does not have to be your real name. It will be shown to the recipient of your messages. Enter the information and click Continue.
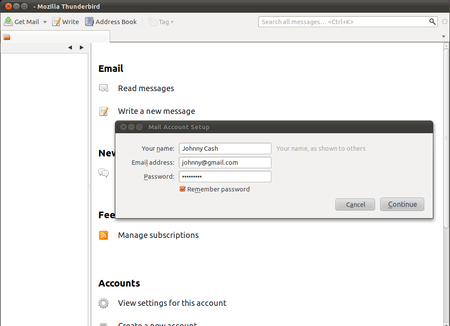
Thunderbird Configure
On the next screen, Thunderbird will attempt to determine the server names based on your email address. This may take some time, and will only work if Thunderbird knows the settings for the mail servers for your email provider. In either case you will be presented with a window where you can modify the settings. In the example below, Thunderbird has detected the settings automatically. You can see the protocol at the right side of the server names. This should be either SSL/TLS or STARTTLS. Otherwise your connection is insecure and you should attempt manual setup.
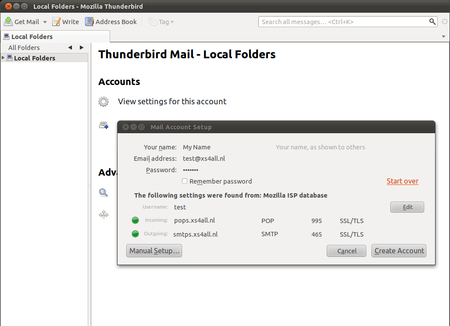
Thunderbird Install
When you are finished, click Create account. If Thunderbird could not determine your server settings, click on Manual setup to configure the server names yourself.
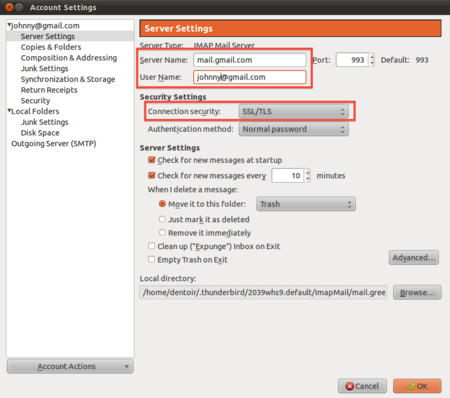
Use the Account Settings interface to manually configure accounts in Thunderbird. The Account Settings dialog will automatically open if you select Manual setup in the configuration wizard. In this case we are only interested in the incoming and outgoing mail server names, and the protocol we use to connect with them. As you can see in the examples below, we enter the Gmail server names and we force them to use TLS/SSL, a secure method to connect to the servers.
Thunderbird Install
Under ‘Server Settings’, we will find only the incoming (IMAP) server and its settings for that specific account.
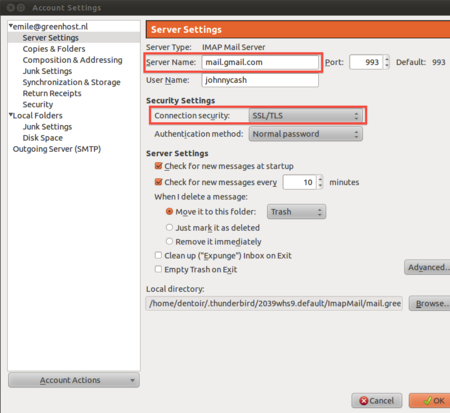
Thunderbird Install
After Server Name enter the name of the IMAP server, in this case mail.gmail.com.
As you can see we have selected ‘SSL/TLS’ under the connection security setting. This enforces encryption. Do not be scared by the authentication method Normal password. The password will be automatically encrypted due to our secured connections to the server.
Finally, configure the outgoing server for the account. Click on Outgoing Server (SMTP) in the left panel.
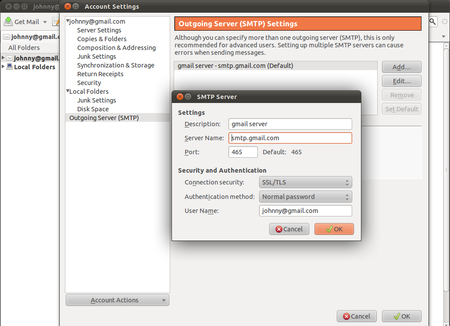
Thunderbird Install
Again, we have selected SSL/TLS under Connection security. The port will default to 465 and this should generally not have to be changed.
Test your Thunderbird setup by trying to send and receive mails. Some email hosting providers may not support the SSL/TLS protocol, which is the preferred choice. You will get an error message saying the authentication protocol is not supported by the server. You may then switch to using STARTTLS instead. In the above two screens, select ‘STARTTLS’ under ‘Connection security’. If this method also fails, contact your email hosting provider and ask them if they provide another way to securely connect to their servers. If they do not allow you to securely connect to their servers, then you should complain and seriously consider switching to a different provider.
At any time you can reconfigure your email accounts by going to the Thunderbird menu bar and clicking Edit | Account Settings (Linux), Tools | Account Settings (Windows and Mac OS X).
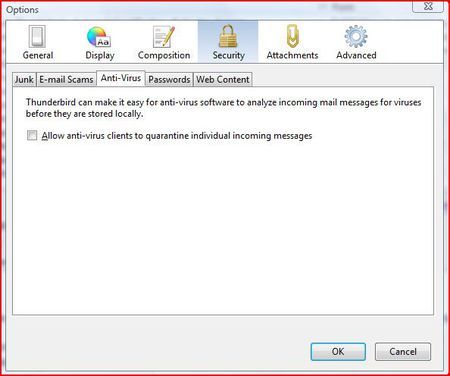
Thunderbird provides additional security measures to protect you from junk mail, identity theft, viruses (with the help of your anti-virus software, of course), intellectual property theft, and malicious web sites.
We will look at the following Thunderbird security features. First a little background on why you need to consider some of these measures:
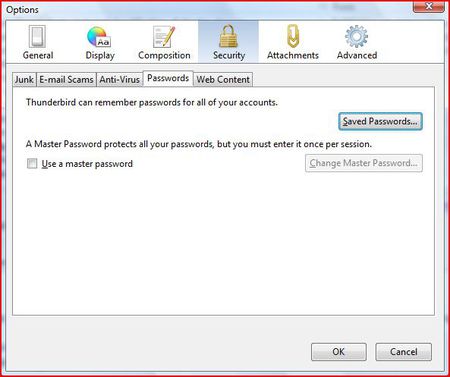
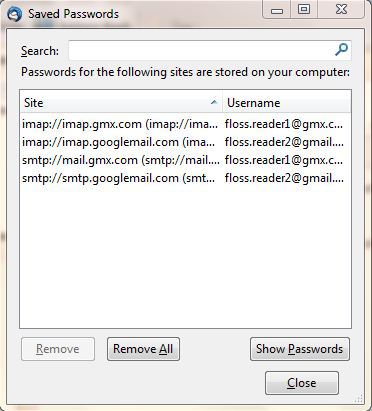
In the Security Preferences section of Thunderbird’s Options/Preferences dialog box you can set up the preferences for these features.
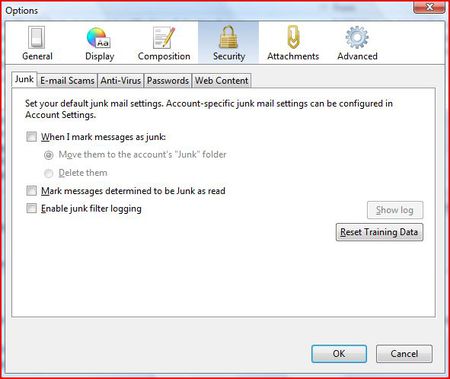
Thunderbird Security
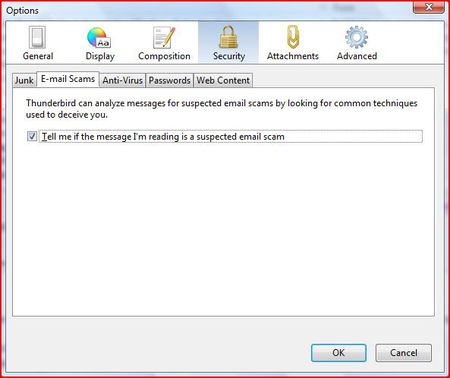
Thunderbird Security
To have Thunderbird warn you about possible email scams, select the check box labelled ‘Tell me if the message I’m read is a suspected email scam’. To turn off this feature, deselect this check box.
Click the ‘OK’ button to close the ‘Options/Preferences’ dialog box.
Thunderbird Security
Thunderbird Security

Thunderbird Security
Thunderbird Security
Thunderbird Security
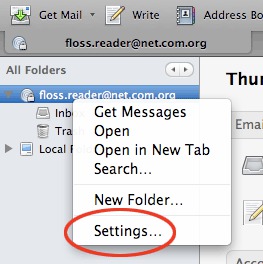
You need to first open Account Settings window. Note that settings configured in the Account Settings window apply only to the account that you select in the Folders pane. You must configure local folders separately.
Thunderbird Security
In Windows or Mac go to the ‘Tools’ menu and select ‘Account Settings’. In Linux, go to the ‘Edit menu’ and select ‘Account Settings’.
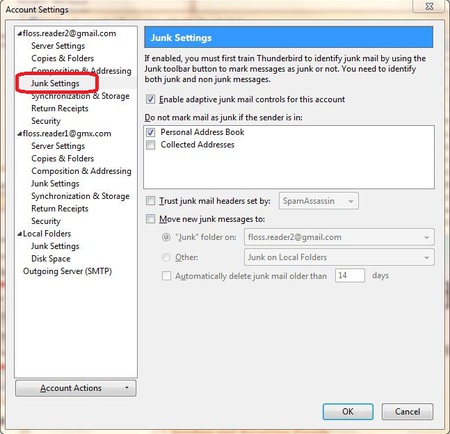
To set adaptive junk mail controls for a specific account, pick an account and click ‘Junk Settings’.
Thunderbird Security
the CryptoParty handbook - Version: 2013-08-21 - Back to Index