Keepass Install
the CryptoParty handbook - Version: 2013-08-21 - Back to Index
Passwords are like keys in the physical world. If you lose a password you will not be able to get in, and if others copy or steal it they can use it to enter. A good password should not be easy for others to guess and not easy to crack with computers, while still being easy for you to remember.
To protect your passwords from being guessed, length and complexity are important. Passwords like the name of your pet or a birth date are very unsafe, as is using single word that can be found in a dictionary. Do not use a password containing only numbers. Most importantly a secure password is long. Using combinations of lower case letters, capitals, numbers and special characters can improve the security, but length is still the most important factor.
For use with important accounts like the pass phrase which protects your PGP/GPG or TrueCrypt encrypted data, or the password for your main email account, use 20 characters or more, the longer the better. See this XKCD cartoon "correct horse battery staple" vis-à-vis "Tr0ub4dor&3" for an explanation.
One way to create strong and easy to remember passwords is to use sentences.
A few examples:
IloveDouglasAdamsbecausehe'sreallyawesome.Peoplelovemachinesin2029A.D.BarneyfromHowIMetYourMotherisAWESOME!Sentences are easy to remember, even if they are 50 characters long and contain uppercase characters, lowercase characters, symbols and numbers.
It is important to minimize the damage if one of your passwords is ever compromised. Use different passwords for different websites or accounts, that way if one is compromised, the others are not. Change your passwords from time to time, especially for accounts you consider to be sensitive. By doing this you can block access to an attacker who may have learned your old password.
Remembering a lot of different passwords can be difficult. One solution is to use a dedicated application to manage most of your passwords. The next section in this chapter will discuss Keepass, a free and open source password manager with no known vulnerabilities, so long as you chose a sufficiently long and complex “master password” to secure it with.
For website passwords only, another option is the built-in password manager of the Firefox browser. Make sure to set a master password, otherwise this is very insecure!
When using a public computer such as at a library, an internet cafe, or any computer you do not own, there are several dangers. Using “over the shoulder” surveillance, someone, possibly with a camera, can watch your actions and may see the account you log in to and the password you type. A less obvious threat is software programs or hardware devices called “keystroke loggers” that record what you type. They can be hidden inside a computer or a keyboard and are not easily spotted. Do not use public computers to log in to your private accounts, such as email. If you do, change your passwords as soon as you get back to a computer you own and trust.
Some applications such as chat or mail programs may ask you to save or “remember” your username and password, so that you don’t have to type them every time the program is opened. Doing so may mean that your password can be retrieved by other programs running on the machine, or directly from your hard disk by someone with physical access to it.
If your login information is sent over an insecure connection or channel, it might fall into the wrong hands. See the chapters on secure browsing for more information.
We will cover installing KeePass on Ubuntu and Windows.
Mac OSX comes with an excellent built-in password manager called Keychain that is just as safe. Downsides are that it isn’t Open Source and doesn’t work on other systems. If you’d need to take your passwords from one Operating System to another it is better to stick with Keepass after all. How to use Keychain is covered in the next chapter.
To install on Ubuntu we will use the Ubuntu Software Center. Type KeePass in the search field at the top right and the application KeePassX should automatically appear in the listing.
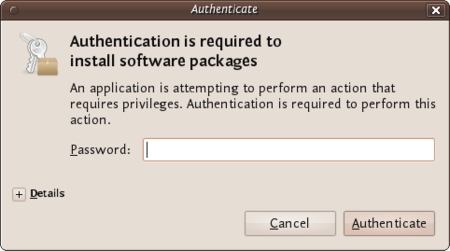
Highlight the item (it may already be highlighted by default) and then press ‘Install’. You will be asked to Authorise the installation process:
Keepass Install
Enter your password and press ‘Authenticate’ the installation process will then begin.
Ubuntu does not offer very good feedback to show the software is installed. If the green progress indicator on the left has gone and the progress bar on the right has gone then you can assumed the software is installed.
First visit the KeePass download webpage and choose the appropriate installer. For this chapter we are using the current installer.
Download this to your computer then double click on the installer. You will first be asked to select a language, we will choose English:
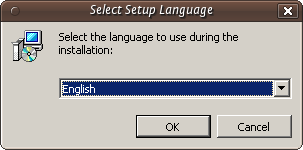
Keepass Install
Press ‘OK’ and you will be shown the following screen:
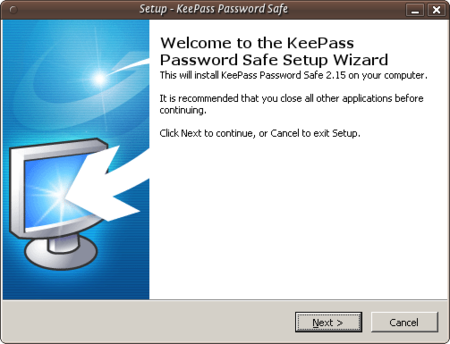
Keepass Install
Just press ‘Next >’ and go to the next screen:
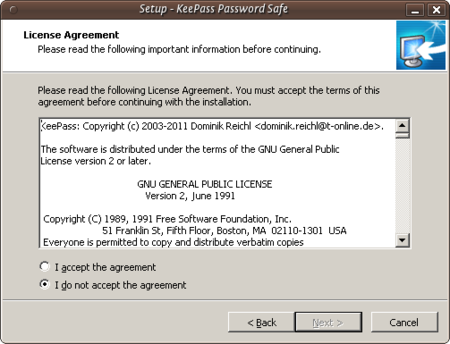
Keepass Install
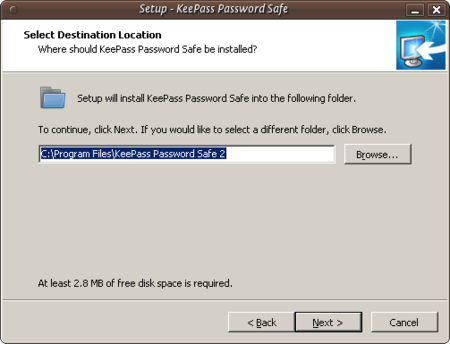
In the screen shown above we must select ‘I accept the agreement’ otherwise we will not be able to install the software. Choose this option and then press ‘Next >’. In the next screen you will be asked to determine the installation location. You can leave this with the defaults unless you have good reason to change them.
Keepass Install
Click on ‘Next >’ and continue.
Keepass Install
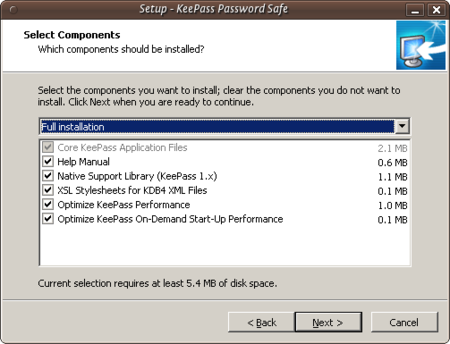
The above image shows the KeePass components you can choose from. Just leave the defaults as they are and press ‘Next >’. You will come to a new screen:
Keepass Install
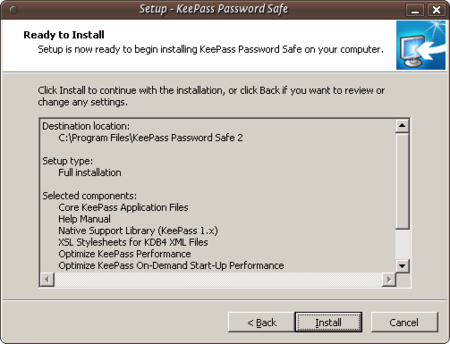
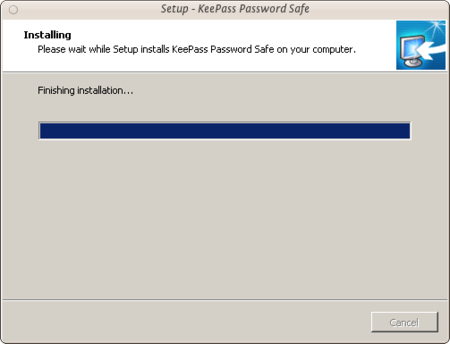
This doesn’t do anything but give you a summary of your options. Press ‘Install’ and the installation process will begin.
Keepass Install
Although Keychain in Mac OS X does an excellent job of storing your passwords, you may want to run your own password database and manager. KeePass allows this added flexibility. First visit the KeePass download webpage http://keepass.info/download.html and choose the appropriate installer. Although the official installers are listed at the top of the page, there are unofficial/contributed installers further down. Scroll down to find [KeePass 2.x for Mac OS X][http://keepass2.openix.be/](http://keepass2.openix.be/):
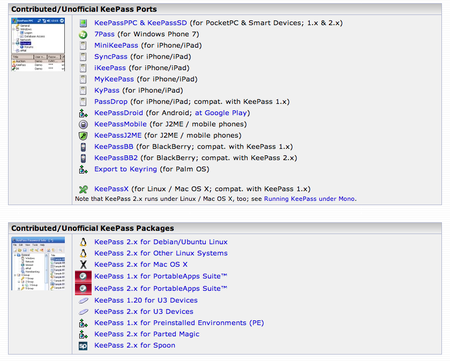
Keepass Install
As this is an external link, your browser will be redirected to http://keepass2.openix.be/:
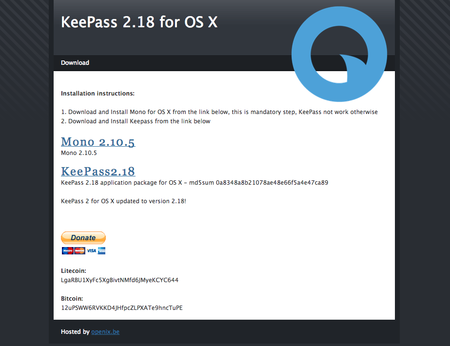
Keepass Install
Note here that you must install the Mono framework first, so that KeePass can run in OS X. So click on each of the links Mono 2.10.5 and KeePass2.18 to download the DMG files to your computer. Double-click on each of the DMGs in your downloads folder to unpack the volumes to your desktop.
The Mono Package installer is in case called something similar to ‘MonoFramework-MRE-2.10.5_0.macos10.xamarin.x86.pkg’, so double-click on this document:
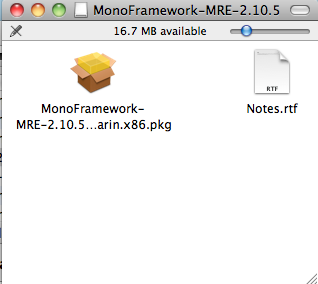
Keepass Install
The installer will open and run:
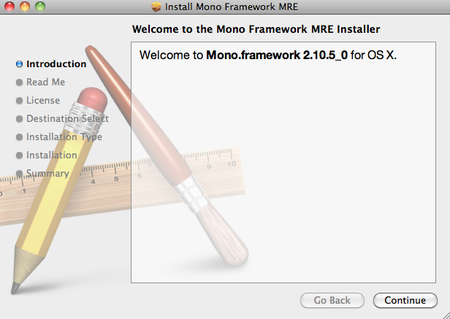
Keepass Install
Follow each of the steps by clicking ‘Continue’, the next step being ‘Read Me’. Inhere is important information such as all of the files that the package will install, including information on how to uninstall Mono:
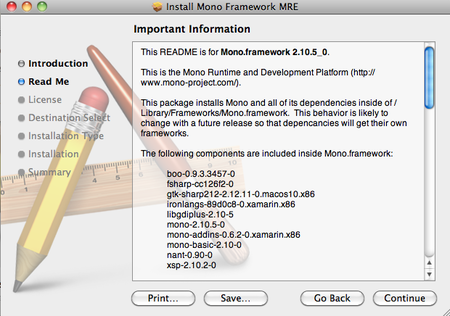
Keepass Install
Click ‘Continue’ to the next screen, the license. Clicking ‘Continue’ on the license screen pops up the agree/disagree dialogue box. If you agree with the license conditions, the installation will continue:
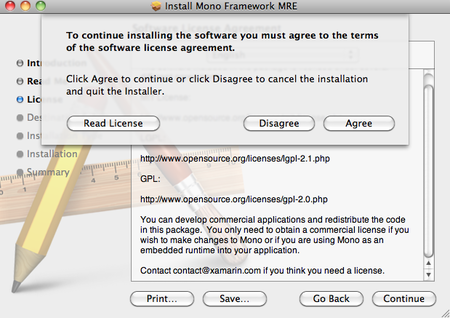
Keepass Install
The following two steps in the installation ask you to choose an installation destination, and check there is enough space on the install disk. When the installation has completed, you will see this screen:

Keepass Install
Now you can quit the installer. Next take a look at the KeePass disk image, double-click to open it, and drag the KeePass application into your Applications folder:
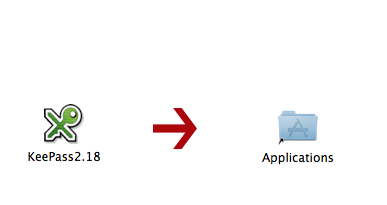
Keepass Install
Now KeePass is ready to use for Mac OS X.
To encrypt password we use KeePass on Windows and KeePassX Ubuntu, and Keychain on OSX. The basic principle is the same; you have a file on your computer which is encrypted with one single very secure password. This is sometimes referred to as a ‘Master Password’, ‘Admin-Password’, ‘Root-Password’ etc. but they are all the ultimate key to all your other keys and secure data. For this reason you can’t and shouldn’t think to light about creating this password.
If a password manager is part of your OS (like it is with OSX) it unlocks automatically for you after you login to your account and so opening secure information like passwords. For this, and other, reasons you should disable ‘Automatically Login’. When you start-up your computer you should always have to login and, even better, set your computer to automatically logout or lock the screen after a set amount of time.
First open KeePassX from the Applications->Accessories -> KeePassX menu.
The first time you use KeePassX you need to set up a new database to store your passwords. Click on File->New Database
You will be asked to set a master key (password).
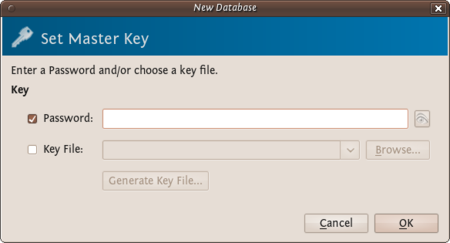
Password Manager
Choose a strong password for this field - refer to the chapter about passwords if you would like some tips on how to do this. Enter the password and press ‘OK’. You then are asked to enter the password again. Do so and press ‘OK’. If the passwords are the same you will see a new KeePassX ‘database’ ready for you to use.
Password Manager
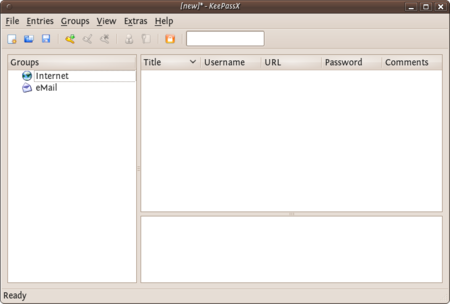
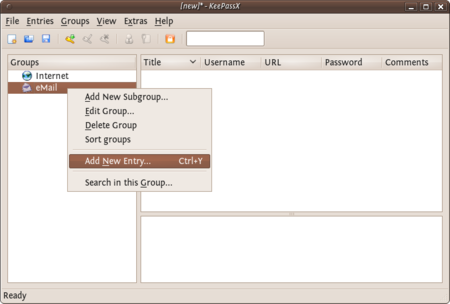
Now you have a place to store all your passwords and protect them by the ‘master’ password you just set. You will see two default categories ‘Internet’ and ‘Email’ - you can store passwords just under these two categories, you can delete categories, add sub-groups, or create new categories. For now we just want to stay with these two and add a password for our email to the email group. Right click on the email category and choose ‘Add New Entry…’:
Password Manager
Password Manager
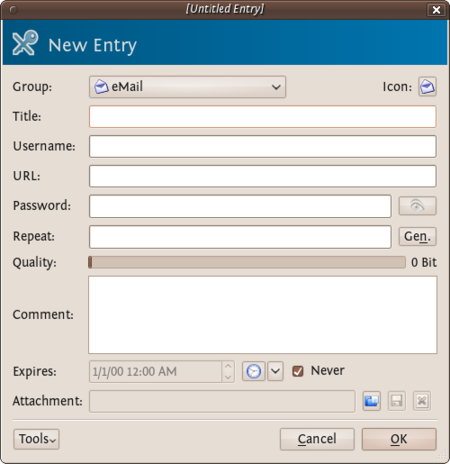
So now fill this form out with the details so you can correctly identify which email account the passwords are associated with. You need to fill out the fields ‘Title’ and the password fields. All else is optional.
Password Manager
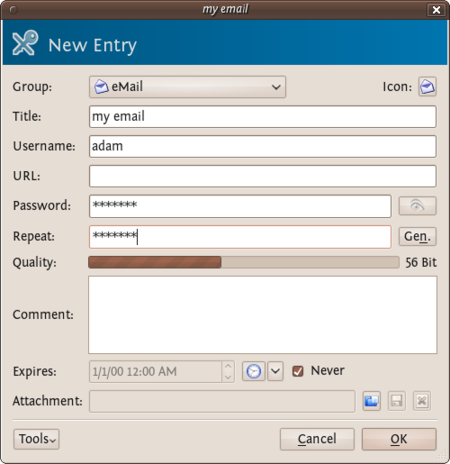
KeePassX gives some indication if the passwords you are using are ‘strong’ or ‘weak’. As may be obvious, you should try to use stronger passwords. For advice on this see the chapter on creating good passwords. Press ‘OK’ when you are done and you will see something like this:
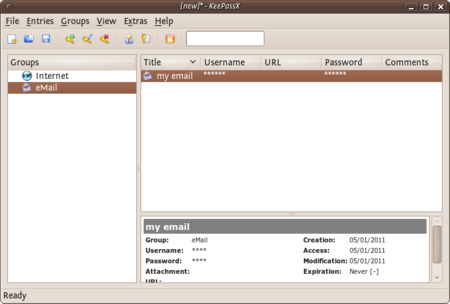
Password Manager
To recover the passwords (see them) you must double click on the enter and you will see the same window you used for recording the information. If you click on the ‘eye’ icon to the right of the passwords they will be converted from stars (*) to the plain text so you can read it.
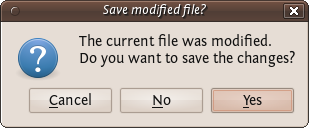
Now you you can use KeePassX to store your passwords. However before getting too excited you must do one last thing. When you close KeePassX (choose File->Quit) it asks you if you would like to save the changes you have made.
Password Manager
Press ‘Yes’. If it is the first time you used KeePassX (or you have just created a new database) you must choose a place to store your passwords. Otherwise it will save the updated information in the file you have previously created.
When you want to access the passwords you must then open KeePassX and you will be asked for the master key. After typing this in you can add all your passwords to the database and see all your entries. It is not a good idea to open KeePassX and have it open permanently as then anyone could see your passwords if they can access your computer. Instead get into the practice of just opening it when you need it and then closing it again.
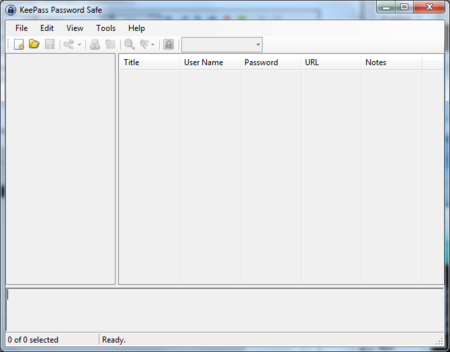
After you installed KeePass on Windows you can find it in the application menu. Launch the application and the following window should appear.
Password Manager
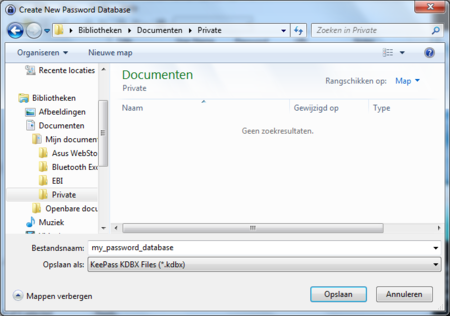
You start by making a database, the file which will contain your key. From the menu select File > New. You have to chose the name and the location of the file in the dialog window below. In this example we call our database my_password_database.
Password Manager
The next screen will ask you for the master password. Enter the password and click on ‘OK’. You will not need to select anything else.
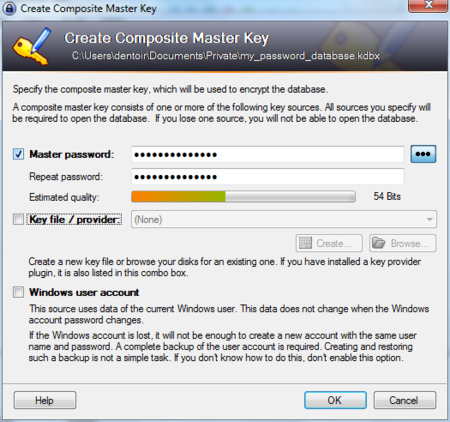
Password Manager
The next window allows you to configure your new database. We do not need to edit anything. Just click on ‘OK’.
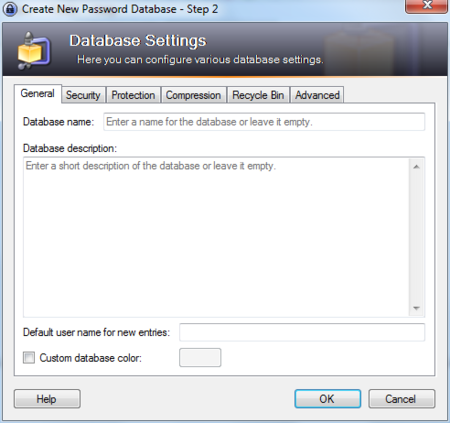
Password Manager
Now the main window appears again and we see some default password categories on the left side. Lets add a new password in the category ‘Internet’. First click on the word ‘Internet’, then click on the add entry icon under the menu bar.
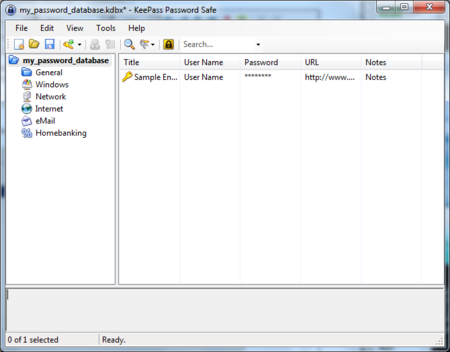
Password Manager
A window will appear like below. Use the fields to give a description of this particular password, and of course, enter the password itself. When done, click on ‘OK’.
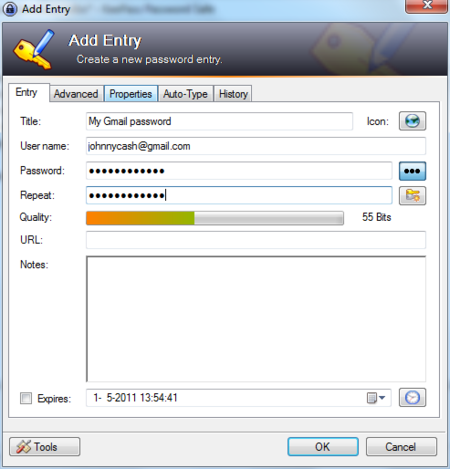
Password Manager
Mac OSX comes pre-installed with the build in password manager ‘Keychain’. Because of it’s tight integration with the OS most of the time you will hardly know it exists. But every now and then you will have a pop-up window in almost any application asking ‘do you want to store this password in your keychain?’. This happens when you add new email accounts to your mail client, login to a protected wireless network, enter your details in your chat client etc. etc. etc.
Basically what happens is that Mac OSX offers you to store all that login data and different passwords in an encrypted file which it unlocks as soon as you login to your account. You can then check your mail, logon to your WiFi and use your chat client without having to enter your login data all the time over and over again. This is a fully automated process, but if you want to see what is stored where and alter passwords, or lookup a password you will have to open the Keychain program.
You can find the Keychain program in the Utilities folder which lives in the Applications folder.
Password Manager
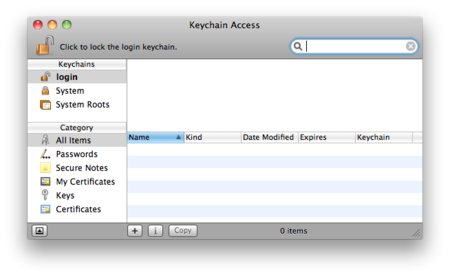
When you open it you will see that your ‘Login’ keychain is unlocked and see all the items contained in it on the right bottom side of the window.
(note: the window here is empty because it seemed to be deceiving the purpose of this manual to make a screenshot of my personal keychain items and share it here with you)
Password Manager
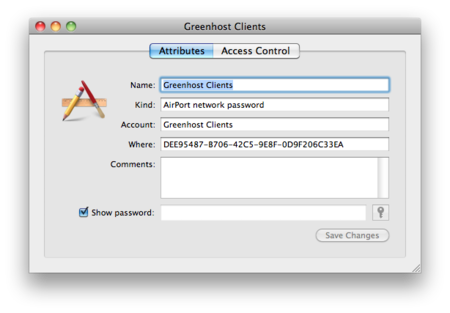
You can double click any of the items in the Keychain to view it’s details and tick ‘Show password:’ to see the password associated with the item.
Password Manager
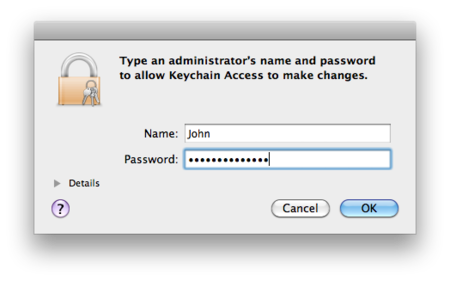
You will note that it will ask you for your master or login password to view the item.
Password Manager
You can access modify any of the items and also use the Keychain to securely save any bits and pieces of text using the notes. To do this click on notes and than choose ‘New secure Note item’ from the file menu.
the CryptoParty handbook - Version: 2013-08-21 - Back to Index